Was increasing your online security part of your New Year’s resolutions? If so, you may have just downloaded your first VPN. When it comes to setting up a new VPN, the process can seem challenging to the inexperienced. You may not know how to configure it on your computer, smartphone, or smart TV. In some cases, you might also be curious about the different features available to you and what they can do for your security. Luckily, we’ve created a guide – VPN Setup 101: a step-by-step tutorial for New Year’s security. This handy guide will give you an idea of how to establish your new VPN with ease.
Understanding VPNs
Your VPN (Virtual Private Network) is a tool for protecting your private information. It protects your data from prying eyes and enhances your online privacy and security. As we embrace the New Year, there’s no better time to take control of our digital well-being.
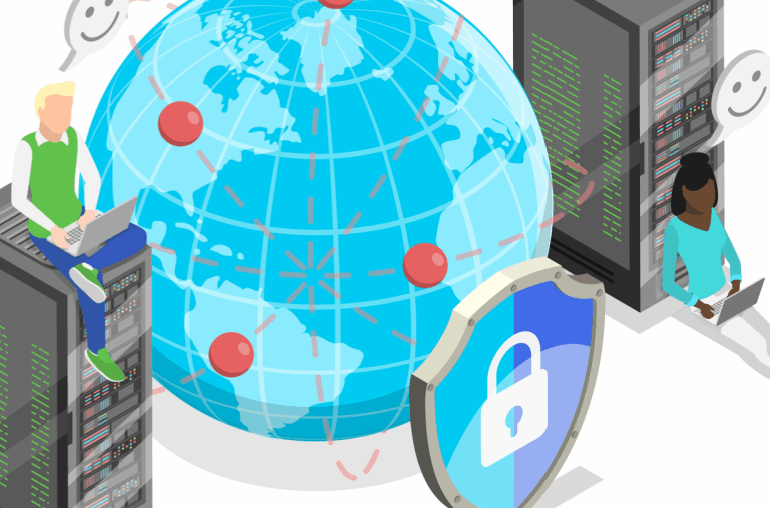
VPNs establish a secure and encrypted connection between your device and the internet. This ensures that your data remains confidential, shielding it from potential attackers, identity thieves, or malicious actors lurking online.
There are a variety of benefits to using a VPN. It provides anonymity by masking your IP address, making it difficult for anyone to trace your online activity. VPNs are also necessary when connecting to public Wi-Fi networks because they encrypt your data and prevent unauthorized access to it.
PrivadoVPN delivers unrivaled privacy and protection on all of your devices, including your phone, computer, tablet, router, and smart TV. Below, we’ll give you a comprehensive list of VPN Setup instructions that can help you get your new VPN up and running in no time at all.
How to Set Up a VPN on a PC
- Go directly to the provider’s website or visit the Windows Store to download the VPN application.
- Allow the VPN application to make changes to your device.
- Click on “Install” from the setup window.
- Click “Launch” from the setup window.
- Once the installation is complete, open the app and sign in.
- Enter your username and password.
- Once the app is open, connect to the server of your choice.
Another option is:
- Go directly to the provider’s website or visit the Windows Store to download the VPN application.
- Open your PC Settings, select “Network,” then click on “VPN.”
- Select “Add a VPN.”
- Fill in the field for your account information, the name of the server, and the VPN type.
- Click “Save.”
- Open up “VPN” from your Settings, select the new VPN, and then “Connect.”

How to Set Up a VPN on Mac
- Go directly to the provider’s website or the Apple App Store to download the VPN application.
- Once downloaded, drag the VPN into the “Applications” folder.
- From the “Applications” folder, double-click on the VPN to install it.
- Select “Open” and enter your password to install the app.
- Once installed, log into the application with your username and password.
- After the app is open, connect to the server of your choice.
Another option is:
- Go directly to the provider’s website or the Apple App Store to download the VPN application.
- Open the “System Preferences.”
- Click on “Network” then select the plus sign in the bottom left.
- From the drop-down menu, select your new VPN.
- Fill in the “VPN Type” and “Service Name.”
- In a new VPN network, add your “Server Address,” “Local ID,” and “Remote ID.”
- Add “Authentication Settings.”
- Fill in your username and password, then click “OK” to connect.
How to Set Up a VPN on an Android Device
- Go directly to the provider’s website or the Google Play Store to download the VPN application.
- Open the application.
- Select either “Sign Up” or “Login.”
- After the app is open and you have signed in, connect to the server of your choice.
Another option is:
- Go directly to the provider’s website or the Google Play Store to download the VPN application.
- Open your “Settings.”
- Click on “Network & Internet,” then select “Advanced” and “VPN.”
- Select “Add VPN.”
- Enter the VPN “Name” and “Server”.
- Select “Save.”
- Fill in your username and password, then click to connect.

How to Set Up a VPN on an iPad and/or iPhone
- Go directly to the provider’s website or the Apple App Store to download the VPN application.
- After the app is installed, open it.
- Select either “Sign Up” or “Login.”
- Sign in with your username and password.
- Connect to the server of your choice.
Another option is:
- Go directly to the provider’s website or the Apple App Store to download the VPN application.
- Open the “Settings” app then click on “General.”
- Select the “VPN” menu and choose “Add VPN Configuration.”
- Choose the type of VPN you’ve installed.
- Add your VPN “Description,” “Server,” “Account,” and “Password.”
- Select “Done.”
- Click “On” to activate the VPN.
- Open the VPN app to select the server of your choice.
How to Set Up a VPN on a Router
- Go directly to the provider’s website and sign up for a VPN.
- Visit your network admin panel by opening a new browser window and typing in your IP address.
- Locate the VPN section in the settings and click on “VPN Client.”
- Fill in the information given to you by your VPN provider.
- Follow the setup instructions for your specific router.
How to Set UP a VPN on a Smart TV
- Android TV:
- 1. On your Android TV, open the Google Play Store and search for your VPN provider of choice.
- 2. Install the VPN on your television.
- 3. Launch the VPN app from your Apps menu.
- 4. Once the app is open, log in with your username and password.
- 5. Connect to the server of your choice.
- Fire TV:
- 1. From the Fire TV remote, go to “Find” and then “Search.”
- 2. Search for your provider of choice on the App Store.
- 3. Install the application to your Fire TV.
- 4. After downloading, click “Menu” or visit your home screen then select “Your Apps & Channels” to open the VPN.
- 5. Once the VPN is open, log in with your username and password.
- 6. After logging in, connect to the server of your choice.

How to Check if Your VPN is Working
If you’re wondering how to check if your VPN is working, you can click here to find out your IP address. Once you know what your IP address is, connect to your VPN and check to see if your IP address has changed.
Common Issues and Fixes
- If you are encountering slow speeds…
- Select a different server that is closer to your actual location.
- If you are unable to send or receive emails…
- Select a different server or try a different email service.
- If you experience a proxy complication…
- Select a different server, clear your cache, clear your cookies, or go into incognito mode.
Premium Online Security with PrivadoVPN
Your online privacy matters. That’s why PrivadoVPN implements the best possible security and encryption standards, to protect your personal information. We utilize the highest quality 256-bit AES encryption to ensure your data is never leaked, and our high-speed connections help you get the most out of your online experience. Plus, with servers in 65 cities around the world, you can easily connect to a secure location and mask your IP address quickly.
Don’t go another day without top-tier online protection. Get started with PrivadoVPN today.
Download PrivadoVPN
Protect your privacy with a world-class VPN. Sign up for premium access to PrivadoVPN and get unlimited monthly data, access to 300+ servers from around the world, and up to 10 simultaneous connections. Get a top-rated VPN that can secure your privacy at home, at work, or on the go.
Sign up for PrivadoVPN today!


