Like anything you do online, what you’re streaming is natively visible to anyone who happens to be watching, even on devices like Apple TV. That’s why you want to have the protection of VPN on Apple TV to keep your data secure.
Why Install a VPN on Apple TV
Streaming is one of the most popular ways to consume media for very good reason. It’s simple, inexpensive, and provides a wide range of entertainment options. You could argue that it’s hit the sweet spot between those qualities, opening up video, music, podcasts, and more to countless users around the world.
What it isn’t, however, is safe.
By using a VPN on Apple TV, you’re keeping people from harvesting your personal data. This level of privacy invasion can be reasonably innocuous, like using your viewing habits to better target ads at you when you’re browsing the web or searching on certain sites. It can be downright dangerous, such as what happens if a phisher or hacker gets ahold of even just your email address. In either case, your data is yours and you should have a say in who gets it and how it’s used.
That’s why PrivadoVPN makes it easy to install a VPN on Apple TV and protect every other device in your home at the same time. Here’s how:
Manually Install PrivadoVPN on Your Router
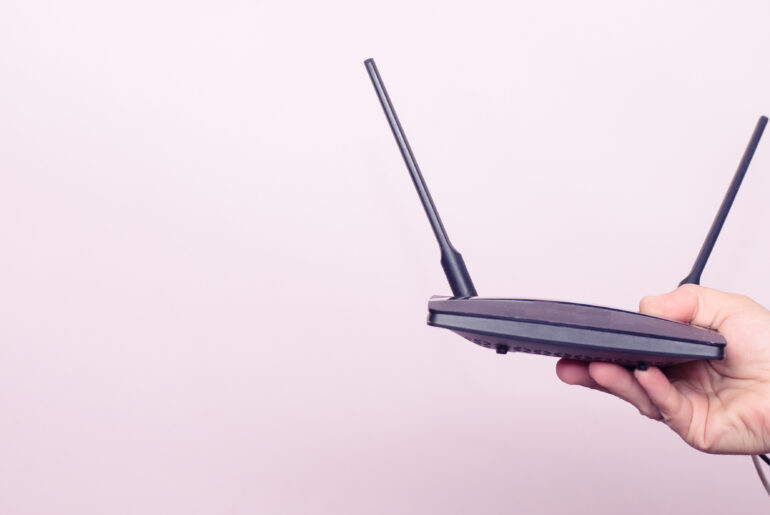
The trick to protecting your streaming is less to install a VPN on Apple TV directly, but rather to install PrivadoVPN on your home router so that it protects every device connected to it. This makes it a lot easier to remain safe while at home where you will transmit the bulk of your sensitive data. Moreover, it only counts as a single simultaneous connection, so PrivadoVPN premium subscribers will still have nine other ones to use for family and friends or while they’re out of the house.
Before you begin, check to see what kind of router you have. Depending on the brand name and model, the specifics of manually setting up PrivadoVPN may be different. This is a general guide. For more specific information on common routers, you can take a look at our Support Page.
Step 1 – Download OpenVPN
Download the server configuration files, ovpn_configs.zip, and extract them someplace on your computer.
Step 2 – Login to your Router
Login to your router’s backend. Depending on your router, this can be different, but generally there is an IP address or URL that you can enter into your web browser that will bring you there. Check your router manufacturer’s website for specific details.
Step 3 – Find the VPN Page
There is often a tab for VPNs in the router’s backend. Again, check your router manufacturer’s website for details on where it is for your particular router.
Once you’ve located the VPN section, you will have to add a new profile to your router. This will give you the opportunity to input your VPN username and password, the same one you use for the app.
Step 4 – Upload Your Location
While adding a new profile, you will have the opportunity to upload an OpenVPN file. Navigate to the folder where you extracted your ovpn_configs.zip file and choose the file for the location you would like to connect to. They are named after airport codes. For example, if you want to connect to the server in Los Angeles, you would upload lax-001.default.
Step 5 – Connect
Click the button to connect to the VPN. This can sometimes be called “Connect,” “Activate,” or similar.
You now have protection for every device connected to your router, including VPN on Apple TV!
Be Safe Online
Whether you’re on a computer, phone, tablet, or smart TV, we want you to be safe and keep your data secure. That’s why it’s so important that you are able to protect your personal information no matter what device you’re using. So take a few minutes to install VPN on Apple TV today!


